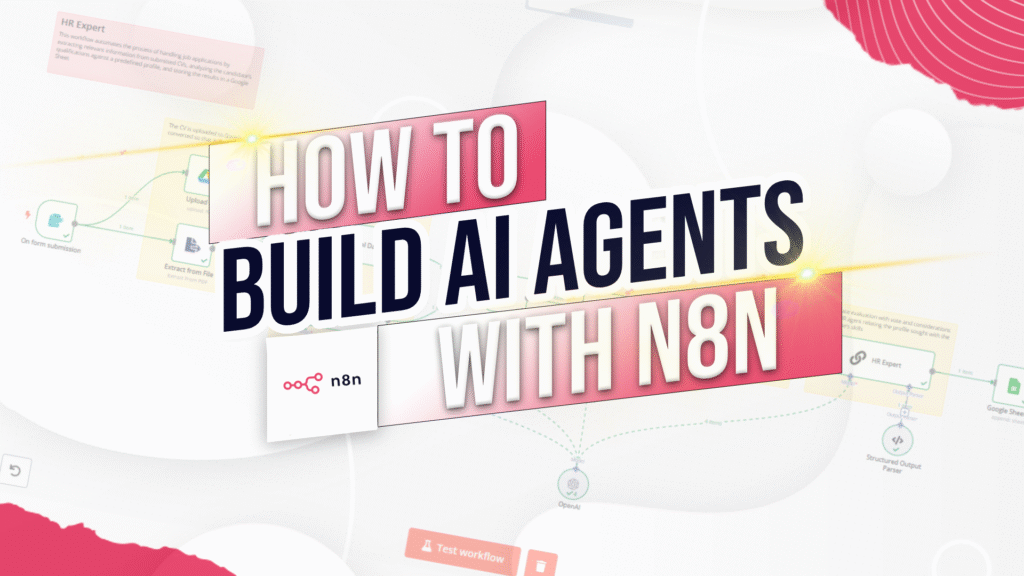
Build Your First AI Agents with N8N and OpenAI
Hi there, and welcome to the course!
My name is Robert Breen, founder of Ynteractive and a consultant who helps businesses build powerful automations with n8n and AI.
In this hands-on training, you’ll learn how to build and launch your very first AI agents using n8n and OpenAI—no coding required. By the end of this hour, you’ll have two working agents:
- A lead qualification agent that analyzes customer conversations to identify strong leads.
- An e-commerce chat assistant that can answer questions, chat with customers, and even take orders.
You’ll also see a bonus demo of an advanced RAG agent and a phone agent.
What is an AI Agent?
AI agents are workflows powered by AI that can reason, act, and automate tasks for you or your customers. Unlike static chatbots, they make decisions using real data or conversational context.
For the context of this course, we define AI agents as:
- Intelligent Chatbots – Agents that interact in natural language, like a customer service rep.
- Task Automators – Agents that process data, make decisions, and take action behind the scenes.
In this course, we’ll build one of each.
Agent #1 – The Lead Qualification Agent
Imagine this: you’re getting thousands of inbound messages—customer inquiries, product questions, sales calls. Your sales team only has time to follow up with the best leads.
This is where an AI agent becomes invaluable:
- It works 24/7, reads every message, and sorts through the noise.
- It uses OpenAI to determine whether a lead is worth following up on.
Example:
- Jordan says: “I’d like to order 200 notebooks.” → Good Lead
- Alex says: “Do you have any discounts?” → Not a strong lead
This workflow is fully customizable and can be adapted to any industry. Later in the course, you’ll build this step by step.
Agent #2 – The E-Commerce Chat Assistant
This assistant can:
- Answer product questions.
- Share shipping and pricing details.
- Handle bulk order requests.
- Stop the conversation when someone is ready to buy and hand them off to sales.
By the end, you’ll see how simple it is to turn a chatbot into a sales-driving machine.
Bonus Demo – Phone and RAG Agents
Beyond chat, you’ll see two advanced demos:
- Phone Agent – A voice assistant that can talk to customers just like a real support rep.
- RAG Agent (Retrieval Augmented Generation) – Instead of hard-coding rules, this agent pulls documents (pricing sheets, policies, guides) from Google Drive or databases like Postgres to answer customer questions.
These examples show how AI agents can scale far beyond basic automations.
Getting Started with n8n
- Create a free n8n trial account (link in the description).
- Connect OpenAI by pasting in your API key. (Yes, you’ll need one. The cost per agent run is usually fractions of a penny.)
Once connected, you can import the provided JSON file (containing both agents) or build everything from scratch, step by step.
Building Your First Agent (Step by Step)
The course walks you through each step, including:
- Adding a manual trigger to start the workflow.
- Using a code node (only for training) to generate sample data.
- Creating an AI agent node with prompts and a system message.
- Connecting an OpenAI chat model as the brain.
- Parsing the output with a structured output parser.
The end result? A working assistant that reviews call transcripts and gives structured, usable responses like:
{
  "name": "Jordan",
  "goodLead": true,
  "reason": "Bulk order of 300 units"
}
This is your first real AI agent—and it only takes three nodes to build.
Building Your Chat Assistant
The second agent introduces memory, logic, and conversation handling. You’ll learn how to:
- Capture user messages with a chat trigger.
- Add an AI agent with a detailed system message.
- Enable memory so the agent remembers the last 10 interactions.
- Use an if condition to check for purchase intent (e.g., “I want to order 500 notebooks”).
- Route serious buyers to sales or an order workflow.
This assistant can live directly on your website as a chat widget.
Scaling to Advanced Use Cases
The real power of n8n + AI comes when you connect agents to your business data:
- Google Drive for policies and sales decks.
- CRMs like HubSpot or Salesforce.
- Databases like Postgres or BigQuery.
- Internal APIs or knowledge bases.
With this, your AI agents become true digital coworkers who can answer questions, qualify leads, and automate workflows in real time.
Conclusion
Congratulations—you now know how to build:
- A Lead Qualification Agent
- An E-Commerce Chat Assistant
- And you’ve seen advanced demos of Phone and RAG Agents
Whether you’re qualifying leads, answering customer questions, or automating internal workflows, AI agents can save your team countless hours while improving customer experiences.
If you’d like help applying this to your own business or want to explore more advanced use cases, I’d love to connect. My contact details are below—reach out anytime.
Thanks for joining me, and I can’t wait to see what you build next!